Categories
Special Needs Family Life

My Daughter’s Brain Injury

If you’re familiar with my website, my Youtube channel, or my brand in general, then you probably already know that my daughter, Avery has complex medical needs. 

Avery’s story is both a sad and a happy one. The strength and resilience of this tiny human still blows my mind. She is both unlucky and lucky, a tragedy and a miracle – and over the last year I’ve really been trying to keep my thoughts positive and focus on the latter of those statements. 

I’m going to add a TRIGGER WARNING here, because although I am focusing on just how incredible my daughter is, her story may be upsetting to some. So read on at your own discretion – if you are easily triggered by trauma, particularly involving an infant, perhaps one of my other blogs would be a better read. 

You’ve probably heard about babies born with oxygen deprivation, whether that be an already present condition, a labour complication or a premature birth – but this didn’t happen to Avery.

So how did Avery end up with a brain injury? You may ask.

Just minutes old

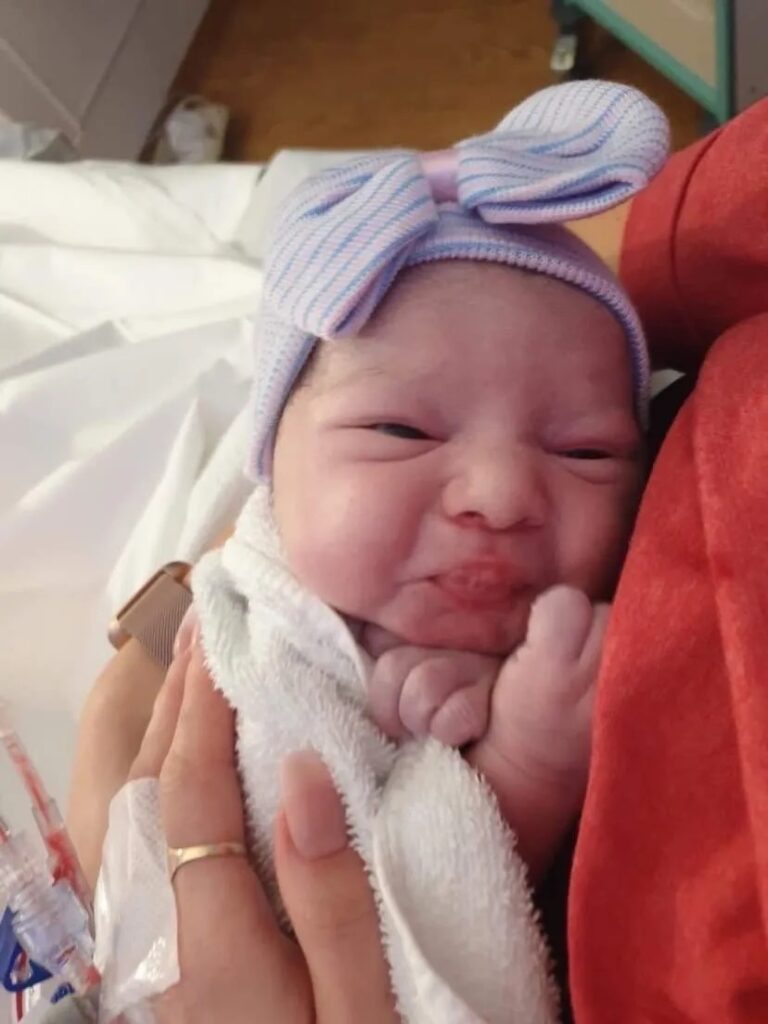
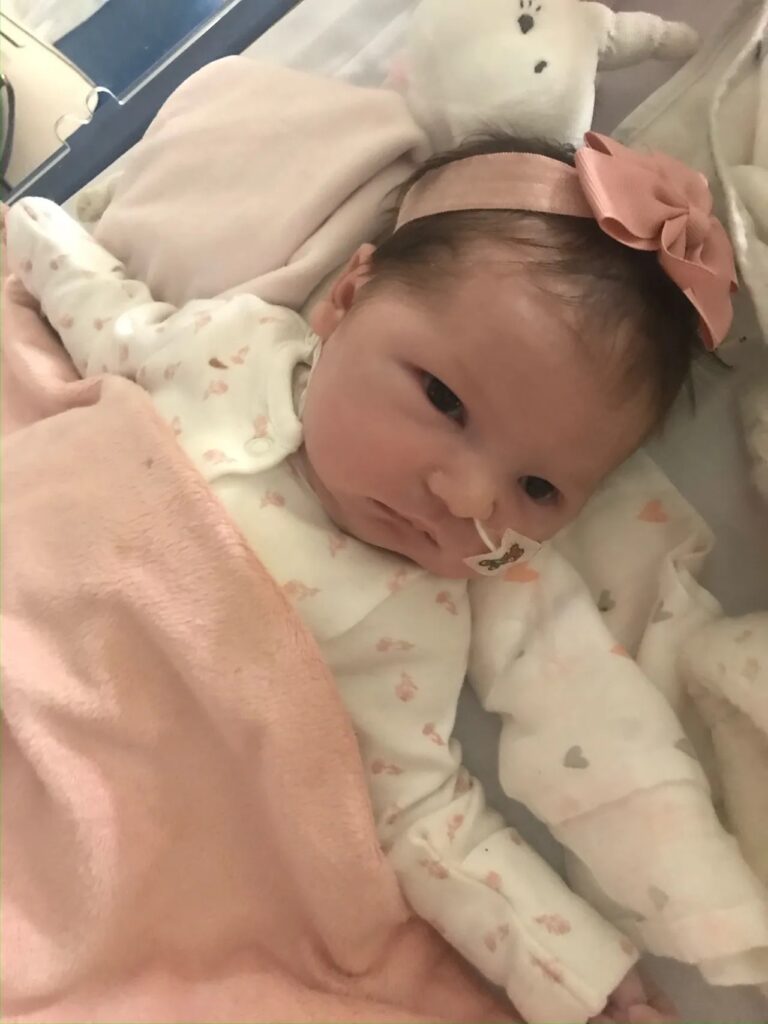
Avery was born healthy, after a very straightforward 6-hour labour and two pushes, she was in the world, beautifully pink, crying, with not one concern.

We spent three exhausting, incredible days as a completed little family in perfect, oblivious, bliss. 

I’m going to skip a little here, purely because my heart and mind are just not ready to relive how it all happened yet – but long story short, Avery survived a 40+ minute cardiac arrest.

That’s incredible right? I still can’t comprehend it, 40 minutes?! How is that even possible? Well it is, my amazing, strong three-day old baby girl did it.

What amount of damage can 40 minutes do?

It didn’t take a Doctor to tell me that Avery would have suffered some severe oxygen deprivation. After all, 40 minutes is a very long time – did I mention that my daughter is incredible?

A few days after Avery’s event, she had an MRI, which revealed that Avery had a severe brain injury. Her damage was mostly in the areas of her Cerebellum and Hippocampus. Was I shocked? No. Did that mean the news didn’t completely devastate me? Absolutely not. Was I still incredibly grateful that she was here and fighting? Heck, yes!

The day Avery graduated from PICU, also the day the bow became her trademark

How did this damage present in Avery?

We are still very early on in our journey, Avery is only now about to turn 17 months old, so we still have a lot to learn about Avery’s brain injury and how it will affect her in the future. 

The Cerebellum is responsible for motor skills, coordination, balance, posture… so in my non expertise, it pretty much sounds like that’s the majority of physical development, right?

When thinking of the hippocampus, my brain went back to what I had learnt from my Mum – she has a lot of knowledge about Alzheimer’s and Dementia from her job, so I immediately assumed Avery’s memory would be affected. 

Physically, it doesn’t take close observation to see that Avery’s diagnoses line up with her development – it’s slow, inchstones, not milestones.

I’ll be honest, I have absolutely no idea if Avery’s memory is affected. I’d like to think it isn’t. She remembers people, TV programmes, routines – I can tell that by the beaming smile she graces our presence with when she’s anticipating her favourite things. 

The Secondary Diagnoses

Avery’s primary diagnosis is Hypoxic Ischemic Encephalopathy (more commonly known as HIE) – for us non Doctor’s, it basically means a brain disorder caused by a lack of oxygen and blood flow. 

Most of her other conditions are all secondary to her HIE. She has Cerebral Palsy, what type I am still unsure of, I can only assume her neurologist wants to give her more time before we can be certain – what we do know is that she has spasticity (I hate that word but it is the correct medical term) in her arms. That means that her muscle tone is too high, causing her arms to be very stiff and tight. Her trunk and neck however, are the opposite. 

She was also diagnosed with Dystonia when she was six months old. Dystonia is a medical term for a range of movement disorders. Avery’s Dystonia causes her to have uncontrollable spasms.

She also has severe reflux, now this one we can’t be 100% certain that it was a direct result of her brain injury – she could have had it anyway. 

Avery is also g tube fed – this isn’t a condition as such – but is still a direct result of her brain injury. Motor function and coordination are all needed to eat and drink as well. I had no idea that so much went into it – which kept me incredibly deflated all the times I tried to get Avery back on the breast – turns out it’s a lot of hard work! 

Needless to say,

Avery is my daughter, not her disabilities.

It took me a really long time to really comprehend this point, guilt is a really tough pill to swallow. Avery has really helped guide me along the way – as she gets older, her character shows through, and man, doesn’t she have character!

Yes, she is disabled, there are things that she may never be able to do. 

Will she walk? We don’t know. 

Will she talk? We don’t know.

Will she ever be able to eat? Again, we don’t know.

The unknown is the single most hardest thing about this situation, but I found that when I stopped wondering what she will and won’t accomplish, and started solely enjoying her for who she is now, everything just felt so much more promising, and I found acceptance.

Avery will decide what she will do when she is ready, in the meantime, it’s my job as her Mummy to just love her and enjoy her for all of the incredible things about her right now.

Avery is an incredible, strong, happy little girl

And what can she do?

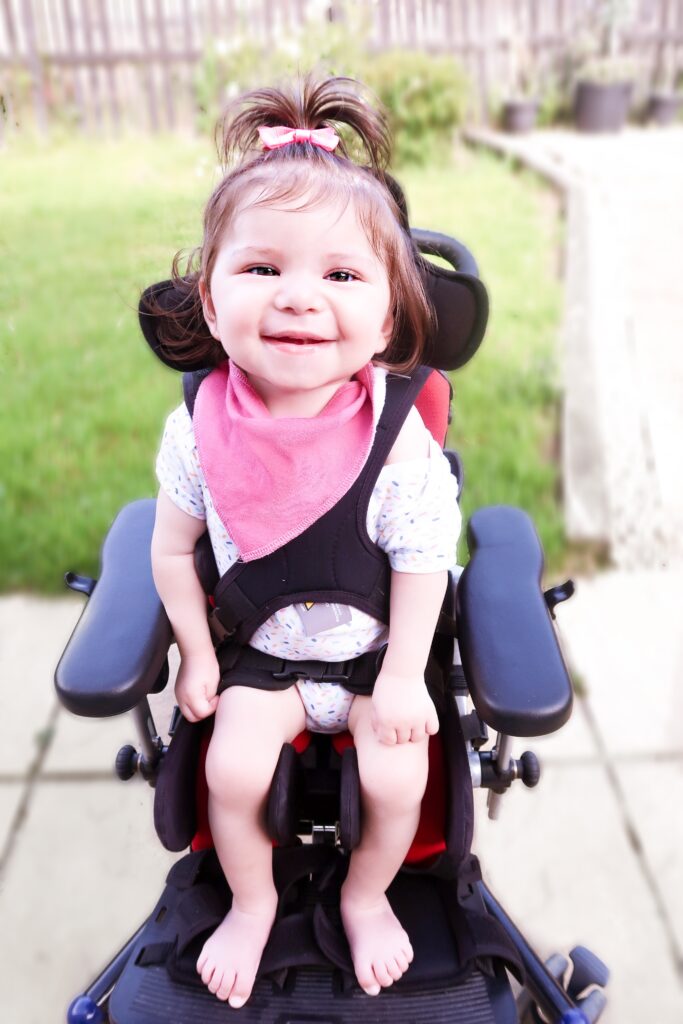
She can smile, she has the most beautiful smile that radiates joy to those around her. 

She can play, with a little help from us she’s found things that she finds enjoyment in. 

She can progress and develop, and she is (inchstones, remember!) Everyday, little by little, she is building strength and balance and coordination.

She can give and receive love – I don’t need her to be able to talk to know this without a doubt. 

She can experience the world around her, there’s absolutely no reason why she should ever miss out. We’re in a day and age now where disabilities are recognised, accepted and catered for. 

I could go on about all of the wonderful things about Avery and her special life, but I’m sure you get the point.

Avery’s brain injury does not define who she is, those sweet, amazing little things we discover about her each day are the things that matter. 

She is my superhero, the strongest, bravest little girl I will ever know.

Categories
Feeding Tube

DIY Feeding Tube Bag

Some links in this post may be affiliate links. There is no additional charge to you. Rest assured I would only link to items I would recommend to you.

So you or someone you know has a feeding tube. Maybe you’re tired of carrying around multiple bags. Or you don’t love the mobile feeding bag you were provided with. Or maybe you just want to be a little more discreet or even a little more stylish without your feeding bag cramping your aesthetic.

I’m going to talk you through exactly how I adapted my daughter’s regular baby changing bag, into a convenient and multi-purpose feeding bag. 

I’m going to throw in an extra little disclaimer here, I am not a medical professional, dietician or a professional seamstress for that matter – so I’m bringing you my tips purely from experience. 

Back Story

My 16-month-old daughter, Avery has been tube fed almost her entire life, and when she got her feeding pump the company also provided us with a backpack for mobile feeding, which sounds great right? No.

As grateful as I am for all of the equipment that is provided to Avery, I quickly realised it was a real pain in the back side having to lug around a bulky feeding bag, alongside her usual baby changing bag, and her syringes, spare feed, clothes, nappies… the list goes on. If you’re a Mom, you’ll know exactly where I’m coming from. 

Not only that, the bag was *cough* ugly. It certainly didn’t compare to the on trend grey baby changing bag I had purchased before Avery was born.

Unfortunately the exact bag I purchased is no longer available but this one is pretty darn close! In honour of transparency, this is an affiliate link, so if you happen to love this bag as much as I did and purchase it, I will receive a small commission, there is no additional cost to you 🙂 – https://amzn.to/3yW5K5z

My beloved baby bag

Why So Expensive?

So, I took to all of the marketplace, eBay, Amazon, Etsy… and there was my solution, what looked like an ordinary bag, adapted for all those tubies out there – but they came at a price. I think the cheapest I found was £60 and they ranged all the way up to the low hundreds.

I pride myself on being somewhat of a budget queen. I love a bargain, and it takes me a long time to talk myself into spending a lot on something, especially when there was nothing too complicated about the item.

I have been incredibly unimpressed at the price tag on some things special needs related, what a sick way to corner a market that could already do with a break, I could go on about that for hours but, that’s not what you’re here for.

I decided – it couldn’t really be that difficult to make this bag myself, especially after watching a few YouTube videos, it seemed like a pretty simple process. 

Making The Thing

Now, I am a creative person, but sewing is not my strongest point, so there were mistakes made along the way, and I had to patch things up in a not so pretty manner. But on the outside of this bag, you’d never know!

The best part is these adaptations could be made to pretty much any bag, but I would suggest using a bag that has a separate pocket at the front that fits your feeding pump, this way you can access it easily without having to rummage through the main pocket. 

I wanted to make this project as cheap as possible, just in case it didn’t work out. So I just used the baby bag I already had. I liked the look of it, I loved the organisational pockets, and I already had it, so there was money saved. 

I bought a 10 pack of curtain grommets from eBay, and they were relatively inexpensive. I already had needles and thread at home and Carabiner Clip, so with less than £10 spent, I got to work.

I ended up having to remove a couple of my beloved organisational pockets to make it work, but there’s still plenty left to sooth the inner OCD in me. 

As you can see, I am clearly not a seamstress, and I got a little scissor happy – hence the patchwork. With that said, if I can do it, so can you!

My first mistake was not checking where I wanted to lines to run, so I ended up making a hole where I didn’t want it (and then doing a very messy patch up job to cover it). Luckily I only needed to create line access on the inside of my bag asI have a double zip system that works great to feed the end of tube out of the bag, but if you need to make an exit hole out of your bag, this is definitely something to consider! The grommets are also a tad fiddly so that took me a little while to figure out.

But I did it, with minimal skill set, 20 minutes max, and hardly any money. And here’s how:

What you’ll need:

· A bag or backpack

· A grommet

· A needle and thread

· A Carabiner Clip

· A strong piece of fabric or ribbon (I just used a cut off from an old bag strap)

Method:

1. Sew your ribbon into the lining of the bag in a loop, if your bag has that thick edging that’s the perfect place for it. The placement is personal preference, I was able to utilise one of the many pockets in my bag. Make sure you sew over it a few times as this will need to be nice and secure.

2. Hook your Carabiner Clip into this loop – This will clip onto your feed, water or whatever you use your feeding pump for.

3. Create your holes for your grommets  – make sure you measure your hole against your grommet size, too small and the grommet wont clip, too big and you’ll need to buy bigger grommets! Consider if you will need a hole from one pocket to another on the inside of your bag, or if you’ll need an exit hole.

4. Clip your grommets onto the holes you’ve cut. (You can also try to attach your grommet before you cut your holes but then you’ll be left with excess fabric and may not look as clean).

That’s pretty much it! Now feed your giving set through your bag, attach your feed to your Carabiner Clip, set it all up and give it a test run. 

I have a video all about how were adapting to cater to the needs of my tubie baby, featuring this little DIY hack! I don’t regret hacking at this bag at all because I love the end result and it’s made life with a tube fed child so much easy. 

I would suggest having a practice run on a bag you don’t care about so much, that choice is totally yours. 

If you do follow this guide to create your own DIY feeding tube bag then please tag me in a picture over on Instagram and let me know how it’s worked for you, I would love to see your creations!