Categories
Special Needs Family Life

How To Stay Organised As A Busy Mom

Being a Mom can be hectic. So an element of organisation is needed to avoid absolute chaos. I am a stay-at-home Mom of three, among everything else included in that job role (cook, made launder, teacher and so on). 

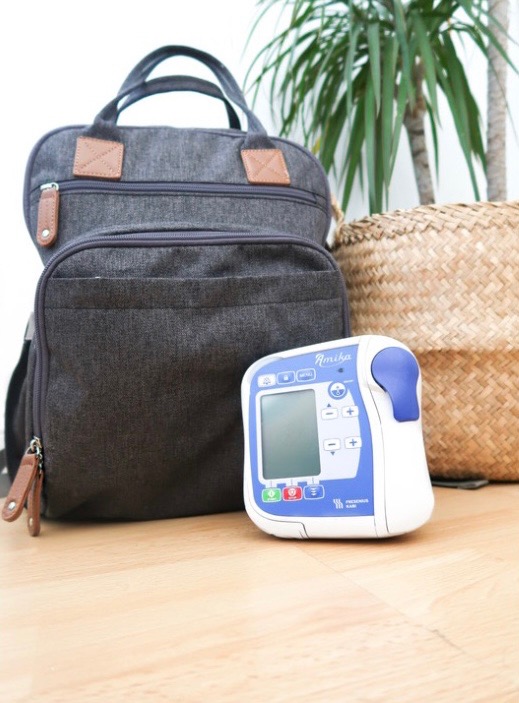
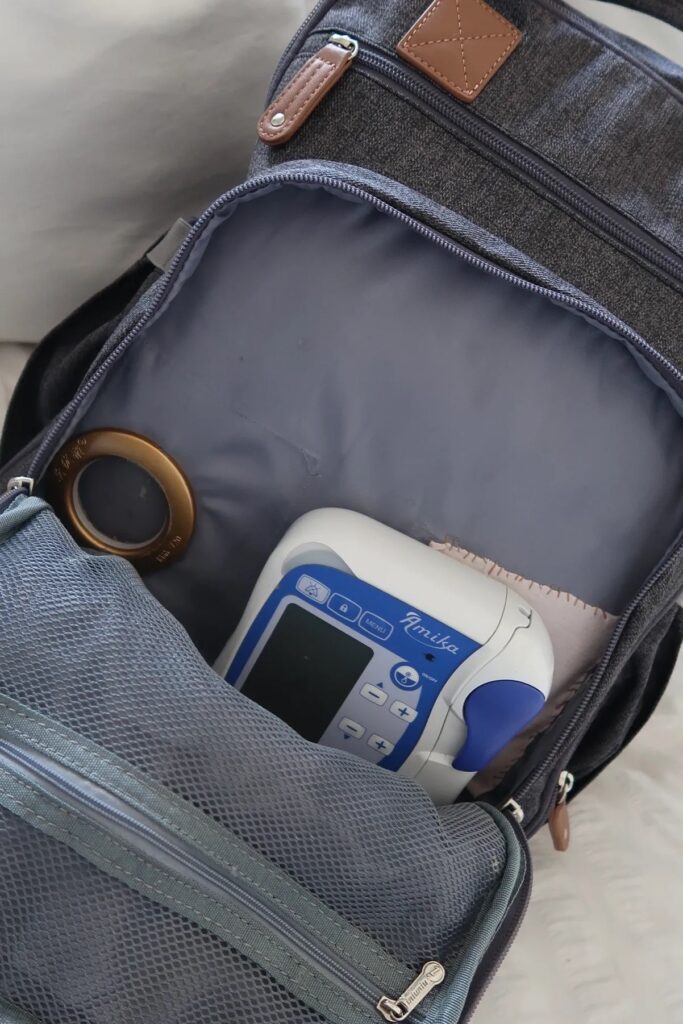
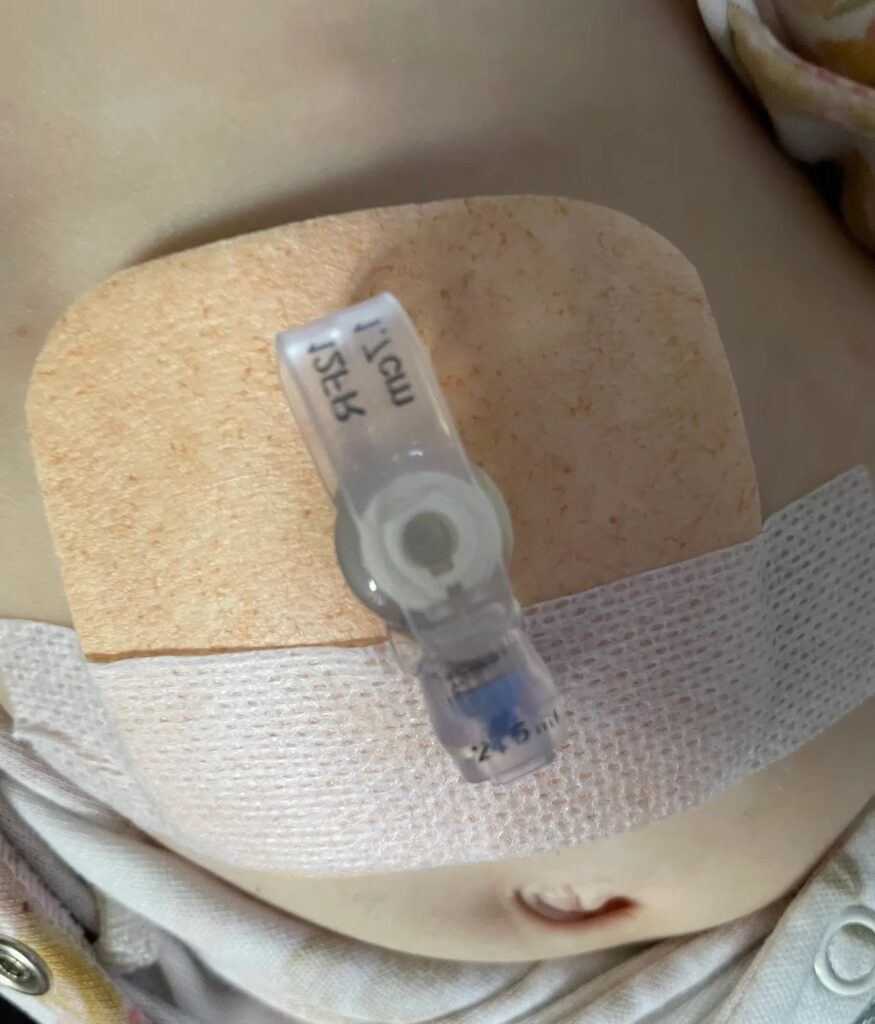
Two of my three children have additional needs, my son, Zachary has Autism. My daughter, Avery has Cerebral Palsy, Dystonia, Severe Reflux and is 100% g tube fed. I’m also working on building my brand, creating content, YouTube videos, blog posts, Instagram posts, as well as building my Etsy shop with digital products. 

Being organised isn’t just something that helps life run smoothly for me. It is the very pinnacle of my coping strategy. Without organisation, I become overrun, overwhelmed and quite frankly, at the edge of breaking point. 

There’s a few simple things I have added into my daily life and routine, to make sure I keep control of what I can. After all, organisation really is the control of what you will and wont do. 

I’m sharing these things with you all because, well, hopefully some of you may find it helpful. Whether that’s because you find some of these tips handy, or maybe you have a similarly chaotic life to me, and can just relate. Plus, organisation is my thing, so writing a blog post about it is an enjoyable way to spend my time. (Yes, I am sad).

So, without further a due, here are my tips on how to stay organised as a busy Mom. 

How To Stay Organised As A Busy Mom

Tackle the bulk of your to do list in the morning.

Have you ever noticed that if you eat breakfast first thing in the morning, it kick starts your appetite? Odd comparison, I know, but I like to think its simalar with productivity. I find that if I do something that productive first thing in the morning, it drives me to continue to be productive. You’re essentially starting the day as you mean to go on, setting off on the right note, and those are the best kind of days. 

Not only that, if I can tackle my to do list as early in th day as possible, I know the rest of my day is carefree. I can just spend time with my children and enjoy the feeling of accomplishment. 

Don’t delay the small tasks.

This is a mistake! Little tasks have a big way of building up until you have a to do list a mile long. I don’t know about you guys, but I find when a task wont take my long, it appears as less of a priority. Therefore I tend to procrastinate and the job just doesn’t get done, it gets put off and buried into that space in my mind of all the little things I must get done until that space is bursting at the seams. 

As a general rule, if a task makes its way onto your to do list, and you know it will only take ten minutes or less, get it done! Don’t put it off. You’ll feel better having that little tick on your list. 

Which brings me onto my next tip.

Me and my three beautiful children

Write lists. Lists, lists and more lists. 

My husband thinks I make things over complicated, I disagree. The more detailed I make my planning the more at ease I feel. That’s where lists come in. 

The mind can often feel liberated when everything has been pulled from it and written onto paper (or phone, tablet etc since were in a modern world).

I can often feel incredibly overwhelmed when I know I have a lot of things to do, but when I write it down, my to do list seems a whole lot less intimidating and more manageable, my mind feels instantly clearer and I feel more motivated. 

This next tip kind of goes hand in hand with the last…

Write things down!

You know how annoying it is when you know you need something, or need to do something, but you can’t quite remember what that something is? I know, I’ve been there.

Best way to combat this? Write it down, straight away. 

Whether its a scribble on paper or a quick note in an app on your phone, you’ll thank yourself for not playing the guessing game of ‘remember the thing’.

I’ve found this incredibly helpful when it comes to planning my YouTube videos. Creativity often sparks when I’m all cosy and comfy in bed. There’s been times where I’ve trusted my brain to remember til morning and my brain did me dirty. 

Now, I just grab my phone and jot a quick few words into my notes. This will do until I have time to properly add that idea into my content calendar. 

What a day in our life looks like

Use a daily or weekly planner. 

This is an absolute must for me, as a matter of fact, I have a calendar for our whole family, a paper planner as a backup, and my digital planner. 

I have a busy life, it full of hospital appointments, school functions, therapies and extra curricular activities, and that’s just my children’s stuff. 

There would be absolutely no way I would remember anything if i didn’t have my days planned out. 

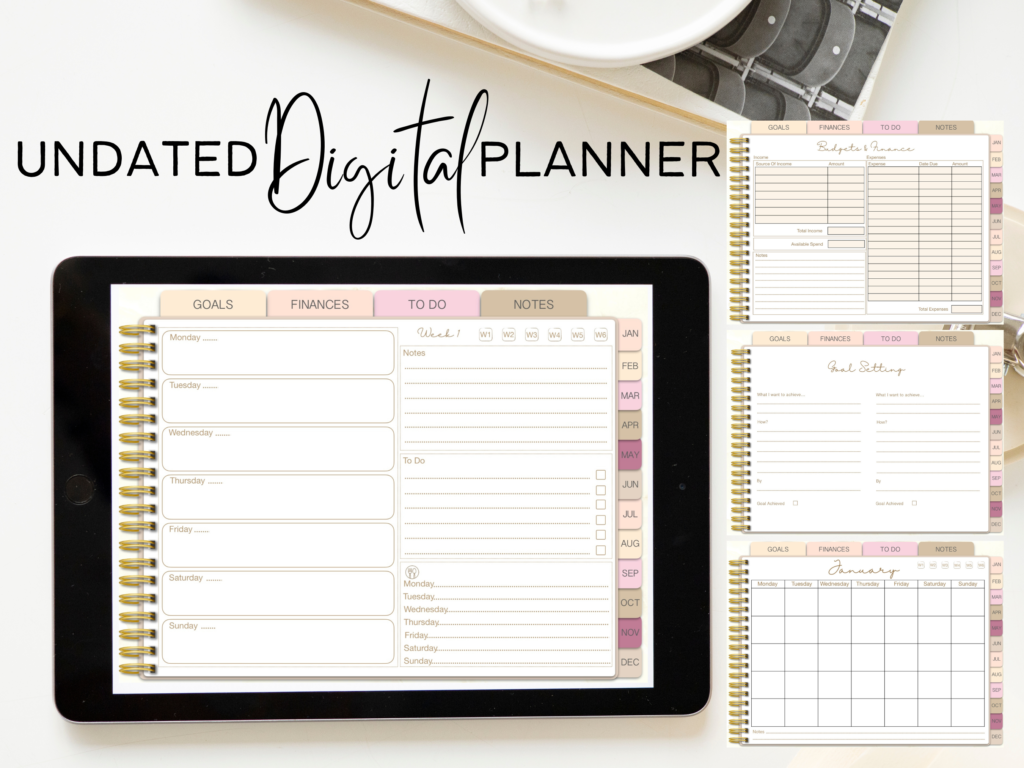
I like a planner that keeps everything in one place. Things that I know I need to keep track of every week or month, this is usually things like food shopping lists, monthly finances and of course, my to do lists. 

This is exactly why i created my own. I took everything I thought would be needed in a week to week planner and made it in one simple document, which i imported into my GoodNotes app. It’s been an absolute game changer, and I have to say, I’m totally converted from paper to digital planning. 

My digital planner available on my Etsy shop

If you prefer traditional pen and paper, I recommend the planners from https://sotypicalme.co.uk/ they’re completely customisable from what you need space for in your planner right down to the front page and binder colour. 

Whether you chose physical or digital. A planner is a non negotiable. Planning your time wisely is a life skill not to be taken for granted. 

How do you plan your time wisely? You may ask.

This is where prioritising comes in. When you know what your tasks are for the day, decide which are the most important. This is most likely going to be appointments or meetings that have other people involved. 

Once you’ve worked out where your primary focus should be, organise the rest of your tasks in a similar way, highest to lowest priority. Plan to tackle your lower priority tasks at a time when you know you may be distracted.

Challenge your time. 

There’s nothing like some healthy competition. Especially when you’re competing with time. As a busy Mom I find I only get short burst of time where I can focus all of my attention on one thing (this is usually my daughter’s nap time).

Avery’s naps are not consistent, but I know she will usually sleep for at least 20 minutes. So for that 20 minutes, I set myself a challenge. Whether that’s a speed clean of the house, writing a blog post or editing a video, if I know I’m on a time crunch, I’m much less likely to be distracted. 

All that hard work deserves a reward, right?

With that being said, don’t forget to give yourself some incentive. 

If you know your going to be rewarded for the work you put in you’re much more likely to put some effort into it. 

This doesn’t have to be over complicated. If you get that load of washing put away, allow yourself to sit down and watch an episode of your favourite TV show. 

Following on from this…

Allow yourself time to rest.

This tip I am incredibly guilty of not implementing into my life. I have anxiety, so it’s in my chemical makeup to never want to sit still. But even I know that if you don’t allow your body to take a break and catch up you’re going to reach a point of burnout. 

Trust me, I know!

Everything should be in moderation. Work hard, play hard. 

My last tip is probably the most important. 

Be prepared not to be prepared. 

As much as I would love it to be, life isn’t as simple as making a list and working your way through it. 

Life is.. well, life! Sometimes it has other plans. Some circumstances aren’t always foreseen. Appreciate the fact that you can’t always have control of every situation and sometimes things need to be adjusted. The ability to adapt is one of the best skills you can learn and implement into your life. 

I hope you enjoyed these tips and maybe even found them helpful. For my life, being organised has helped provide me with clarity, and a sense of control over my own life.

Categories
Feeding Tube

DIY Feeding Tube Bag

Some links in this post may be affiliate links. There is no additional charge to you. Rest assured I would only link to items I would recommend to you.

So you or someone you know has a feeding tube. Maybe you’re tired of carrying around multiple bags. Or you don’t love the mobile feeding bag you were provided with. Or maybe you just want to be a little more discreet or even a little more stylish without your feeding bag cramping your aesthetic.

I’m going to talk you through exactly how I adapted my daughter’s regular baby changing bag, into a convenient and multi-purpose feeding bag. 

I’m going to throw in an extra little disclaimer here, I am not a medical professional, dietician or a professional seamstress for that matter – so I’m bringing you my tips purely from experience. 

Back Story

My 16-month-old daughter, Avery has been tube fed almost her entire life, and when she got her feeding pump the company also provided us with a backpack for mobile feeding, which sounds great right? No.

As grateful as I am for all of the equipment that is provided to Avery, I quickly realised it was a real pain in the back side having to lug around a bulky feeding bag, alongside her usual baby changing bag, and her syringes, spare feed, clothes, nappies… the list goes on. If you’re a Mom, you’ll know exactly where I’m coming from. 

Not only that, the bag was *cough* ugly. It certainly didn’t compare to the on trend grey baby changing bag I had purchased before Avery was born.

Unfortunately the exact bag I purchased is no longer available but this one is pretty darn close! In honour of transparency, this is an affiliate link, so if you happen to love this bag as much as I did and purchase it, I will receive a small commission, there is no additional cost to you 🙂 – https://amzn.to/3yW5K5z

My beloved baby bag

Why So Expensive?

So, I took to all of the marketplace, eBay, Amazon, Etsy… and there was my solution, what looked like an ordinary bag, adapted for all those tubies out there – but they came at a price. I think the cheapest I found was £60 and they ranged all the way up to the low hundreds.

I pride myself on being somewhat of a budget queen. I love a bargain, and it takes me a long time to talk myself into spending a lot on something, especially when there was nothing too complicated about the item.

I have been incredibly unimpressed at the price tag on some things special needs related, what a sick way to corner a market that could already do with a break, I could go on about that for hours but, that’s not what you’re here for.

I decided – it couldn’t really be that difficult to make this bag myself, especially after watching a few YouTube videos, it seemed like a pretty simple process. 

Making The Thing

Now, I am a creative person, but sewing is not my strongest point, so there were mistakes made along the way, and I had to patch things up in a not so pretty manner. But on the outside of this bag, you’d never know!

The best part is these adaptations could be made to pretty much any bag, but I would suggest using a bag that has a separate pocket at the front that fits your feeding pump, this way you can access it easily without having to rummage through the main pocket. 

I wanted to make this project as cheap as possible, just in case it didn’t work out. So I just used the baby bag I already had. I liked the look of it, I loved the organisational pockets, and I already had it, so there was money saved. 

I bought a 10 pack of curtain grommets from eBay, and they were relatively inexpensive. I already had needles and thread at home and Carabiner Clip, so with less than £10 spent, I got to work.

I ended up having to remove a couple of my beloved organisational pockets to make it work, but there’s still plenty left to sooth the inner OCD in me. 

As you can see, I am clearly not a seamstress, and I got a little scissor happy – hence the patchwork. With that said, if I can do it, so can you!

My first mistake was not checking where I wanted to lines to run, so I ended up making a hole where I didn’t want it (and then doing a very messy patch up job to cover it). Luckily I only needed to create line access on the inside of my bag asI have a double zip system that works great to feed the end of tube out of the bag, but if you need to make an exit hole out of your bag, this is definitely something to consider! The grommets are also a tad fiddly so that took me a little while to figure out.

But I did it, with minimal skill set, 20 minutes max, and hardly any money. And here’s how:

What you’ll need:

· A bag or backpack

· A grommet

· A needle and thread

· A Carabiner Clip

· A strong piece of fabric or ribbon (I just used a cut off from an old bag strap)

Method:

1. Sew your ribbon into the lining of the bag in a loop, if your bag has that thick edging that’s the perfect place for it. The placement is personal preference, I was able to utilise one of the many pockets in my bag. Make sure you sew over it a few times as this will need to be nice and secure.

2. Hook your Carabiner Clip into this loop – This will clip onto your feed, water or whatever you use your feeding pump for.

3. Create your holes for your grommets  – make sure you measure your hole against your grommet size, too small and the grommet wont clip, too big and you’ll need to buy bigger grommets! Consider if you will need a hole from one pocket to another on the inside of your bag, or if you’ll need an exit hole.

4. Clip your grommets onto the holes you’ve cut. (You can also try to attach your grommet before you cut your holes but then you’ll be left with excess fabric and may not look as clean).

That’s pretty much it! Now feed your giving set through your bag, attach your feed to your Carabiner Clip, set it all up and give it a test run. 

I have a video all about how were adapting to cater to the needs of my tubie baby, featuring this little DIY hack! I don’t regret hacking at this bag at all because I love the end result and it’s made life with a tube fed child so much easy. 

I would suggest having a practice run on a bag you don’t care about so much, that choice is totally yours. 

If you do follow this guide to create your own DIY feeding tube bag then please tag me in a picture over on Instagram and let me know how it’s worked for you, I would love to see your creations!

Categories
Feeding Tube

NG Tube or G Tube: Which Is Right For My Child?

There are SO many reasons why a child or baby might need a helping hand with getting nutrition into their body. Brain injuries, premature birth, gastrointestinal issues….

The list goes on!

I am NOT a medical professional so I can only speak from my personal experience. My daughter, Avery suffered a hypoxic event at 3 days old, as a result she has Cerebral Palsy among other conditions. 

Her coordination took a massive hit, which includes the huge amount of skill it actually takes to eat, as much as we can take it for granted!

Which leads me to the topic of this blog.

If you’re more of a watcher and less of a reader, I have a YouTube video that covers all of the points in this blog and more.

What Do I Know?

If you’re reading this blog I imagine you’ve already got some idea of what an NG and a G Tube are. 

Avery has been tube fed almost her entire life, apart from the small stretch of time before her event when we were blissfully oblivious to what we would soon have to face. 

She had an NG tube from the PICU days up until April 2022 when she had her gastrostomy surgery for her new Mini Balloon Button to be placed.

Just before Avery’s gastrostomy surgery

What’s The Difference?

The name suggests (Naso-gastric), the NG tube is inserted through the nose and makes its way down to the stomach. The G Tube button is inserted directly through the surface of the abdomen into the stomach and is held in by a little water filled balloon.

There are other types of G Tube – But once again, I am not a medical professional, so I can only speak from experience, so I’ll be referring to the Mini Button.

Pros & Cons

They both have them.. and I could go on for hours about the challenges we’ve dealt with while adjusting to the tubes. But I’m sure you don’t want to see paragraph on paragraph of me droning on about all of our encounters – so I’ll try and keep it simple.

NG Tube

Temporary – The NG tube is usually what’s recommended when it’s only a temporary situation. It can be inserted and removed at home by whoever is trained to do it.

‘Simple’ Procedure – I say this subjectively because it’s not a pleasant experience to pass a new tube, but by simple, I mean it doesn’t take surgery. 

The risk – On its merry little way to the stomach the NG Tube passes a couple of very important organs – the lungs. The tube could potentially move to the lungs – you can imagine worst case scenario, but aside from that, it can cause chest infections. A chest infection in an already vulnerable child can lead to much nastier things.

PH Testing – Yes this is the only thing we had to prevent the previous risk, but it’s a tedious task. Especially since Avery was taking Omeprazole which made those little strips very difficult to read.

Reflux – We were told countless times by a certain medical professional that the NG tube shouldn’t affect reflux, but after doing our own research, low and behold – it does!

Discomfort – I don’t think this point needs much explaining, there’s a tube in the throat.

Appearance – Superficial I know, but obviously, the tube is inserted through the nose, which means it needs to be taped to the face. I can’t speak for Avery’s opinion but if it was me, I would most definitely feel self-conscious.

G Tube 

We use absorbent dressings to help control the granulation tissue

Low Profile – A G Tube can be easily hidden with clothing – The Mini Button in particular is very discreet is it’s just a small button on the surface of the skin. An extension set is then attached to the button for feeding.

Blended Diet – I’m only touching on this briefly as we’re not quite at this stage yet, but we will be! G Tubes are bigger in diameter since they don’t need to go down the nose. So there are more feed options, including real blended foods (Very much looking forward to this).

Surgery – Since this tube is inserted through the skin there is surgery involved. Definitely not a nice experience as a parent or for Avery – or so I assume since she was in too much pain to be held for 2 whole days.

Infection – This risk comes with any surgery. We’ve been battling infection ever since the surgery. I don’t want to scare you hear – Avery’s Tube is too big in length which is basically what caused the infection, and since we can’t change the tube until the 3 month recovery mark – antibiotics and dressings it is!

Fast Healing Time – This seems as though it should be a pro right? No, the stoma heals super fast, so if you have a curious child that manages to pull out their tube and you don’t notice in time – you’re basically back where you started.

What’s right for my child?

I can’t answer that for you, but I hope this post has helped you gain a bit of knowledge from a Mother’s perspective. 

For our family and Avery, I still think we’ve made the right choice – infections and all! 

It’s so nice to be able to see Avery’s hold face without tapes taking up the majority of her cheek, and she no longer screams when she gets put down on the floor in anticipation of the dreaded NG Tube change. 

The option of a blended diet was one of the biggest advantages for me, the idea that she can still be consuming real foods made at home. I’ll be sure to leave an update on how that goes when her stoma is fully healed. 

I hope you decide what’s best for your child and your family. But just remember when making your decision – fed is best, no matter the method!