Some links in this post may be affiliate links. There is no additional charge to you. Rest assured I would only link to items I would recommend to you.
So you or someone you know has a feeding tube. Maybe you’re tired of carrying around multiple bags. Or you don’t love the mobile feeding bag you were provided with. Or maybe you just want to be a little more discreet or even a little more stylish without your feeding bag cramping your aesthetic.
I’m going to talk you through exactly how I adapted my daughter’s regular baby changing bag, into a convenient and multi-purpose feeding bag.
I’m going to throw in an extra little disclaimer here, I am not a medical professional, dietician or a professional seamstress for that matter – so I’m bringing you my tips purely from experience.
Back Story
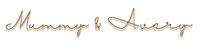
My 16-month-old daughter, Avery has been tube fed almost her entire life, and when she got her feeding pump the company also provided us with a backpack for mobile feeding, which sounds great right? No.
As grateful as I am for all of the equipment that is provided to Avery, I quickly realised it was a real pain in the back side having to lug around a bulky feeding bag, alongside her usual baby changing bag, and her syringes, spare feed, clothes, nappies… the list goes on. If you’re a Mom, you’ll know exactly where I’m coming from.
Not only that, the bag was *cough* ugly. It certainly didn’t compare to the on trend grey baby changing bag I had purchased before Avery was born.
Unfortunately the exact bag I purchased is no longer available but this one is pretty darn close! In honour of transparency, this is an affiliate link, so if you happen to love this bag as much as I did and purchase it, I will receive a small commission, there is no additional cost to you 🙂 – https://amzn.to/3yW5K5z
Why So Expensive?
So, I took to all of the marketplace, eBay, Amazon, Etsy… and there was my solution, what looked like an ordinary bag, adapted for all those tubies out there – but they came at a price. I think the cheapest I found was £60 and they ranged all the way up to the low hundreds.
I pride myself on being somewhat of a budget queen. I love a bargain, and it takes me a long time to talk myself into spending a lot on something, especially when there was nothing too complicated about the item.
I have been incredibly unimpressed at the price tag on some things special needs related, what a sick way to corner a market that could already do with a break, I could go on about that for hours but, that’s not what you’re here for.
I decided – it couldn’t really be that difficult to make this bag myself, especially after watching a few YouTube videos, it seemed like a pretty simple process.
Making The Thing
Now, I am a creative person, but sewing is not my strongest point, so there were mistakes made along the way, and I had to patch things up in a not so pretty manner. But on the outside of this bag, you’d never know!
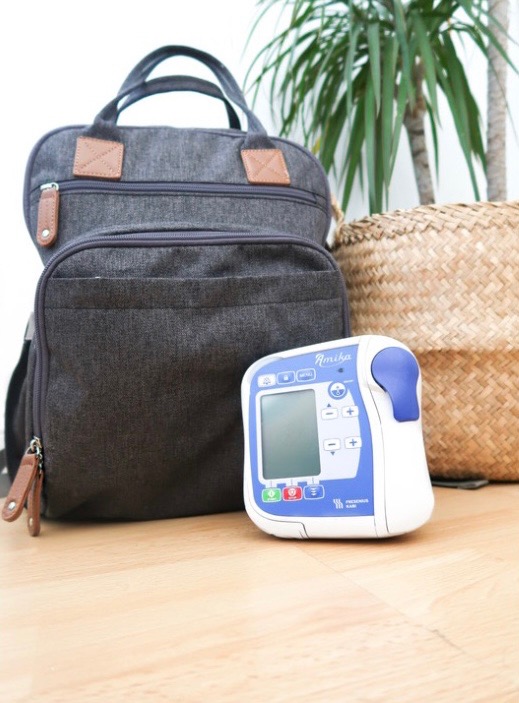
The best part is these adaptations could be made to pretty much any bag, but I would suggest using a bag that has a separate pocket at the front that fits your feeding pump, this way you can access it easily without having to rummage through the main pocket.
I wanted to make this project as cheap as possible, just in case it didn’t work out. So I just used the baby bag I already had. I liked the look of it, I loved the organisational pockets, and I already had it, so there was money saved.
I bought a 10 pack of curtain grommets from eBay, and they were relatively inexpensive. I already had needles and thread at home and Carabiner Clip, so with less than £10 spent, I got to work.
I ended up having to remove a couple of my beloved organisational pockets to make it work, but there’s still plenty left to sooth the inner OCD in me.

My first mistake was not checking where I wanted to lines to run, so I ended up making a hole where I didn’t want it (and then doing a very messy patch up job to cover it). Luckily I only needed to create line access on the inside of my bag asI have a double zip system that works great to feed the end of tube out of the bag, but if you need to make an exit hole out of your bag, this is definitely something to consider! The grommets are also a tad fiddly so that took me a little while to figure out.
But I did it, with minimal skill set, 20 minutes max, and hardly any money. And here’s how:
What you’ll need:
· A bag or backpack
· A grommet
· A needle and thread
· A Carabiner Clip
· A strong piece of fabric or ribbon (I just used a cut off from an old bag strap)
Method:
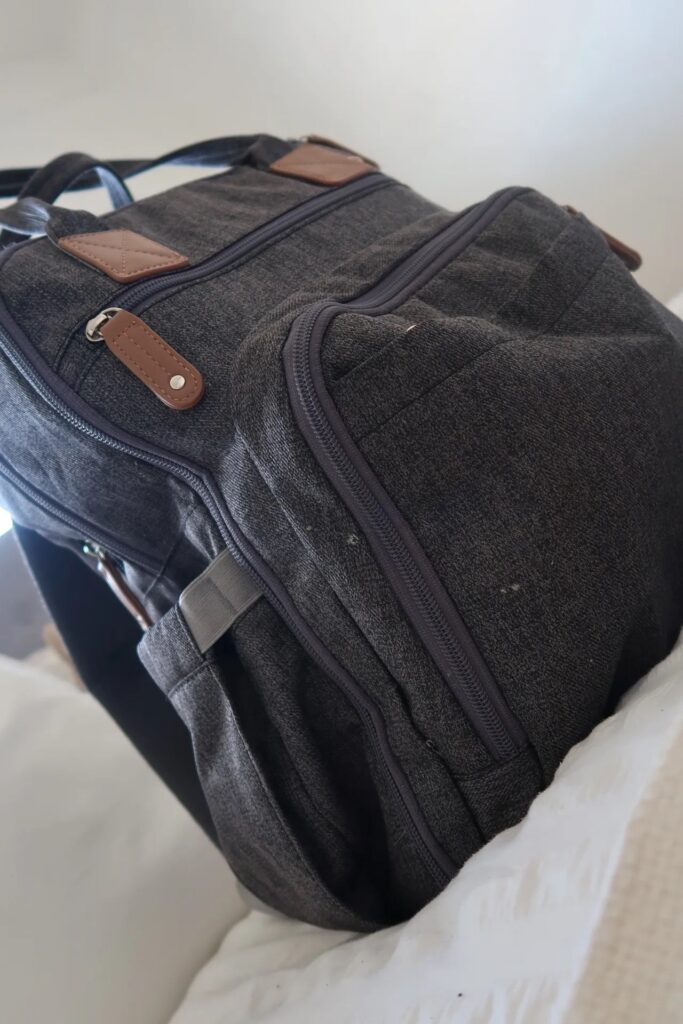
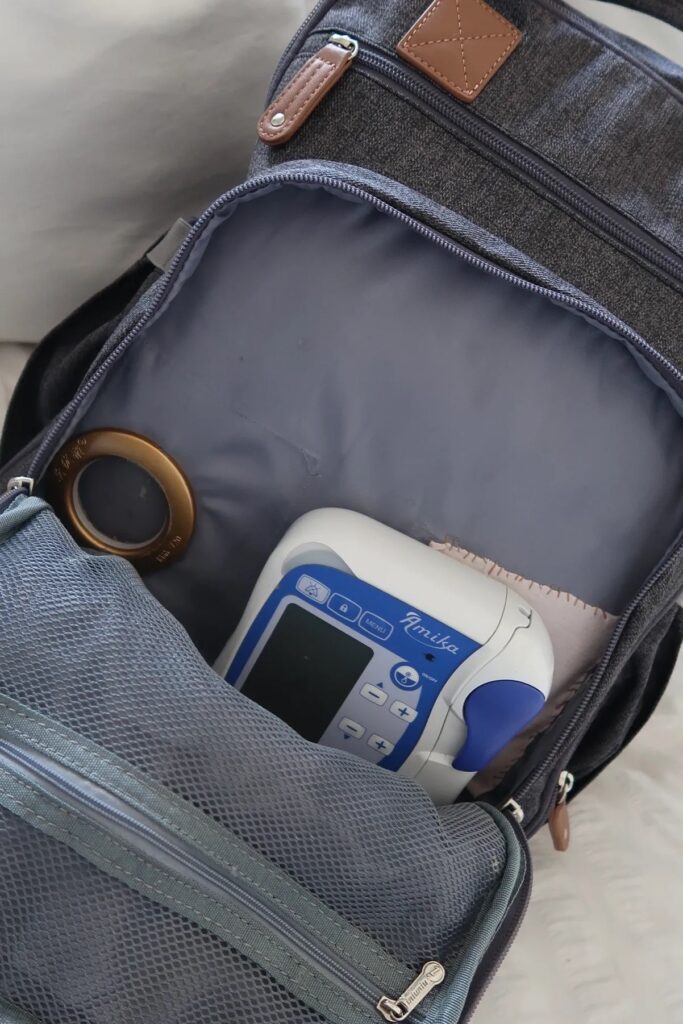
1. Sew your ribbon into the lining of the bag in a loop, if your bag has that thick edging that’s the perfect place for it. The placement is personal preference, I was able to utilise one of the many pockets in my bag. Make sure you sew over it a few times as this will need to be nice and secure.
2. Hook your Carabiner Clip into this loop – This will clip onto your feed, water or whatever you use your feeding pump for.
3. Create your holes for your grommets – make sure you measure your hole against your grommet size, too small and the grommet wont clip, too big and you’ll need to buy bigger grommets! Consider if you will need a hole from one pocket to another on the inside of your bag, or if you’ll need an exit hole.
4. Clip your grommets onto the holes you’ve cut. (You can also try to attach your grommet before you cut your holes but then you’ll be left with excess fabric and may not look as clean).
That’s pretty much it! Now feed your giving set through your bag, attach your feed to your Carabiner Clip, set it all up and give it a test run.
I have a video all about how were adapting to cater to the needs of my tubie baby, featuring this little DIY hack! I don’t regret hacking at this bag at all because I love the end result and it’s made life with a tube fed child so much easy.
I would suggest having a practice run on a bag you don’t care about so much, that choice is totally yours.
If you do follow this guide to create your own DIY feeding tube bag then please tag me in a picture over on Instagram and let me know how it’s worked for you, I would love to see your creations!